Draft Cycle Works

Showing posts with label brakes. Show all posts

Friday, May 28, 2021

Survivor Chop: Repairs and upgrades everywhere


After a weekend trip to Gettysburg with a couple friends, I found a few things on this bike that could use some love.  On top of that, some of the equipment is just old and could use replacement so I don't have to deal with issues roadside.  This includes some electrical repairs, exhaust repairs, new oil and vent lines, new wheel bearings, new front rotor, and a tighter rear suspension. 

The last one in the list above was a bit of a surprise to me after I loaded the bike up with my gear for the weekend.  I went over a bridge and heard a screeching sound like the wheel locking up.  It turns out that the rear wheel was rubbing the fender... a lot.  To remedy this, I asked John to whip up some spacers out of scrap to preload the rear springs a bit more. I measured the spring rate to be about 185 lbs/in, so we went with 1/4" spacers to add about 90 lbs more preload (46.25 lbs on each side).  This helped quite a bit, but it still rubs slightly over heavy bumps.


I slapped some black paint on the underside of the fender to cover the raw metal from the tire rubbing over the years.  This also gives the tire a fresh canvas to scuff up later.  Overall, the bike rides about the same, but the tire scuffing is only slight.  John made up a second set of spacers to add which are 1/8".  I may add those and see if I can avoid tire contact with the fender altogether.


I hope to use this bike as my touring ride for a long time to come.  With that in mind, I want it to be as reliable as possible.  And while the original regulator and rectifier on the CB750's is quite reliable, it is already 49 years old.  So out with the old and in with the new.  A new regulator rectifier combo from Rick's Motorsports (model 27-10100).  This reg/rect combo is plug and play with the factory wiring harness, which surprisingly, this chop has.  Removing the old parts and installing the new combo unit was a huge pain only because the main wiring fixture from the original CB750 was mounted under the oil tank, making it impossible to remove the original regulator and rectifier without removing the rear fender.  This was one big reason why I did this upgrade. I would not have been able to replace the original parts roadside.


I also replaced the glass tube fuse holder with a more modern blade type fuse.  While this bike retains the factory harness, someone consolidated the fuses to just a single 20 amp fuse.  I would prefer separate fuses, but I've owned and built many bikes with just one main fuse without any trouble.

The exhaust repairs included replacing the no. 10 bolts on the exhaust sleeves at the tube joint near the footpegs with 1/4-20 bolts.  The right side exhaust came loose while up in Gettysburg and I had to use bailing wire to strap it to the frame.  I don't like the fact that the sleeves are a tad small and simply black pipe, but they will work for now. I also sealed some leaks at the spigots with aluminum borrowed from an Arizona Green Tea can.  Nothing but the finest material.


The new oil and vent lines were brought to you by Home Depot.  Reinforced clear vinyl tube for the oil lines and clear non-reinforced vinyl tube for the vent lines.  I like that the oil flow is visible.  This material gets soft as the are heated, so be sure to use reinforced tube for the oil lines.  


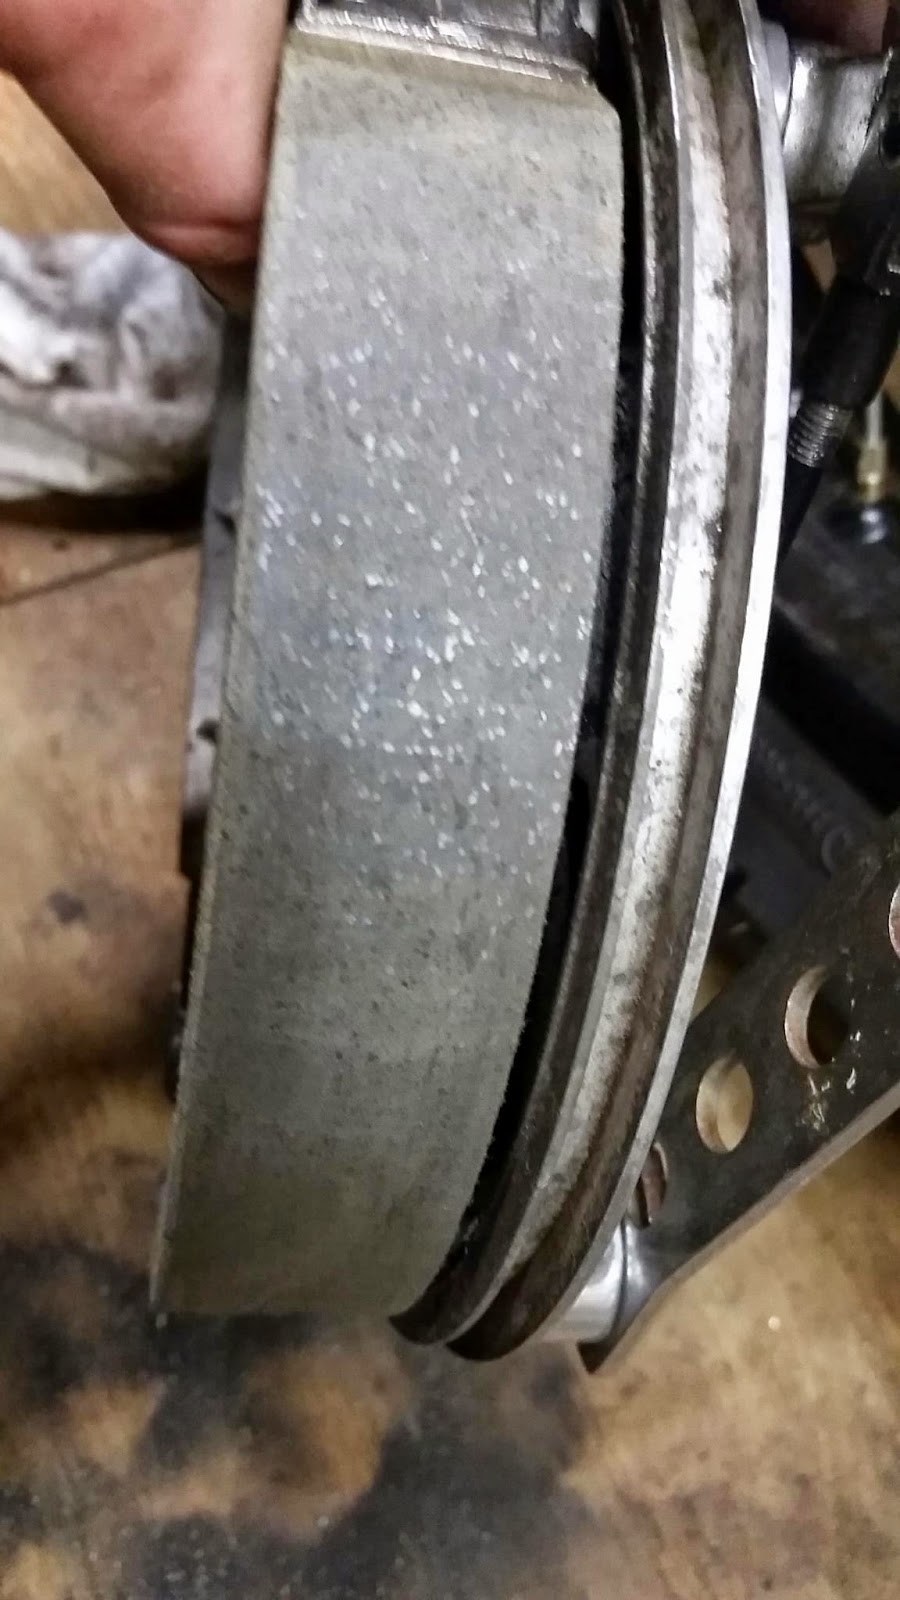
I have run many bikes on the original wheel bearings for years without noticing any issues, until I actually replaced a full set on a bike.  The ride was significantly smoother and handling in corners was notably better.  The bearings on this bike had their time in the spotlight and exhibited some rough spots. And while I would have just run these in the past (and did for a while this past year), bearings are cheap, replacing them is good insurance, and the difference is quite noticeable.  

The bearings for the hallcraft front hub were conversion bearings to adapt the wheel to the 5/8" axle.  The part number from NSK is 6203-625VVC3.  Simply drive the old ones out carefully with a punch, clean all the surfaces, inspect the inner sleeve for damage, and install the new bearings.  Be sure not to compress the bearings in so tight that they bind from compressing the inner sleeve.  Press the bearings in until the inner sleeve is in contact with the inner race of each bearing, but both bearings spin easily.  This goes for the rear hub too.


While doing the bearings, I cleaned and polished everything along the way.  It's easy to get to those small spots now, and not so much later.  

The rear wheel has three bearings, two in the hub, and one in the sprocket carrier.  All Balls sells a great kit that I have used many times.  The part number is 25-1362 for the CB750 rear wheel.  It comes with all three bearings and a new shaft seal for the sprocket carrier.  This shaft seal was important for the factory bearings, which were not sealed.  However, the All Balls kit comes with sealed bearings.  

The sprocket carrier has a bearing retainer on it.  When I cant find my retainer tool, I just use a set of hex keys or punches that are close to the diameter of the holes and rotate them with a pry bar.  To prevent the aluminum threads from galling, clean the retainer and spray the threads with penetrant.  Leave the sprocket carrier in the wheel while working on the retainer as it will help hold the piece steady.


Once the retainer is removed, drive the bearing out from the other side and remove the shaft seal.  Clean all the surfaces and install the new bearing and shaft seal.  When installing the new bearing, you can use the old bearing as an intermediate surface to bash on.  It's the same size as the new bearing and will distribute the force evenly. One other tip: If the shaft seal is being a pain to remove, heat the retainer with a torch and melt/soften the rubber shaft seal.  It will pull out easily.


The rear hub also has a bearing retainer and I use a similar method as above.  Instead of hex keys though, I use flathead screwdrivers to engage more of the surface of the retainer. Use penetrant to minimize/prevent thread galling.


Drive the bearings out from each side, clean, and replace.  Once again, the old bearings can be used to assist with seating the new bearings.  And once again, make sure to inspect the bearing sleeve that rests between the hub bearings and ensure that it is in contact with the inner races of the bearings and the bearings spin freely.  Reinstall the bearing retainer and you're all done.  This is also a good time to inspect your kush drive rubbers, your rear brake shoes, and your brake liner.  Ohh and clean/polish everything!  One more pro tip:  Matching the bearing seal color to the bike adds 20 horsepower at the wheel. Luckily, the All Balls kit is blue!

Last on the list for this post is the front rotor. The original one was heavily pitted.  They were made by Hurst-Airheart, now known as Airheart Brakes.  You can purchase a rotor that's similar in dimension, but will need some modification to mount to the Hallcraft hub.  The part number for this replacement is 3301-1003 (7.75" diameter, 0.119" thickness, 3.50" bolt circle diameter, 0.194" bolt hole diameter).  The bolt holes need to be counter-sinked and opened up to accept the 1/4-28 bolts that the Hallcraft hub uses.

I didn't purchase a new one and go down the route of modifying it to work because I had a few of these rotors sitting around.  I checked the potential replacement for warping, pitting, and thickness.  Then cleaned, sanded, and painted it to make it look purdy.  I installed with the original bolts because they were in good shape and used blue loctite.


So that wraps up a good bit of work to get this bike, that my friends have named "Blue Waffle", in top shape.  Better electrics, newer bearings, fresher brakes, new lines, tighter suspension.  After this, I'm going to spend some time tweaking the tuning a bit.  I feel that there's plenty of room to improve this bike's performance and reliability.  So next we'll take a look back at the carburetors and the ignition.


Sunday, March 14, 2021

Survivor Chop: Front Brake Setup

Brake work was completed back in June of 2020, just before my second left ulnar nerve surgery.  I had some brake lines made up at Colliflower and purchased a radial master cylinder with a remote reservoir.  The master cylinder was from a Beull, part number H0507.1B7.  I used a radial master cylinder with a remote reservoir because a standard linear master cylinder with integrated reservoir was too big to fit on the 6 bend bars.  After rigging up a remote reservoir and awkwardly bleeding the system, it worked very well.  

A rough picture of the master cylinder during mockup.  Notice the limited space on the bars.  Here, I was trying to mount the reservoir on the top of the bar, but I ended up making a tab and mounting it to the frame of the master cylinder.

Finished reservoir setup.


This bike has the complete stock wiring harness with all the lights, bells, and whistles.  This includes the handlebar controls.  They take up quite a bit of room on 6 bends, where real estate is at a minimum.

Awkwardly bleeding the system with the new reservoir mounted.

The pressure switch for the brake lights was incredibly tricky to mount, but I eventually fought it into submission.  It did not make bleeding the system easy.  Honestly, for a relatively simple system, this one took quite a while to bleed.

Caliper hanging out while trying to get all the air up to the m/c.  I ran a 90* into the caliper so the brake line looked cleaner.

The caliper is a Hurst Airhart setup, which only gives you a little more braking power than a hill holder.  It's good enough to slow you down a little in the curves, but wont help much in an emergency stop.  It fits well with the vintage look of the bike, so it had to stay.  I cant say that for the radial m/c, but it's the only thing that seemed to work.

I had to replace the caliper bolts and the brake stay as well.  These were simple fixes.


Monday, April 27, 2015

Deglazing a drum brake system

So ever since I built this cl450 front, I've never gotten it to function well. I've deglaze and adjusted it several ties, but I can't seem to find the sweet spot. It's a dual leading shoe system which apparently can be finicky. Another reason I'm taking the brake apart is because I've always heard a clicking sound when rolling the wheel backwards. After inspection it turned out one of the cotter pins had been bent out and was making contact with the wheel hub casting.

For deglazing, I sanded the shoes down with 220 grit perpendicular to the length of the shoe. I also chamfered the leading edge and the side a tiny bit. Just enough to remove the shine. For the drum liner I used 120 grit and a 45* cross hatch.

To adjust the shoes, I set the linkage so both cams were in the same position. I rassembled the drum with the punch marks lined up on the shaft/lever. I then tightened the cable until I heard contact. I expect that this is pretty close to the proper adjustment but I continued to make some minor adjustments.

My thought is that the liner is not perfectly round so I should be able to adjust the cable until I can hear one shoe make contact, then rotate the wheel 180* and make the same sound with the other shoe. This would mean that the shoes are adjusted the same distance away from the drum liner. I hope.

I adjusted the linkage until the sound was similar 180* apart. After dropping the bike back down, it seemed to hold better, but I'll need to ride it to really see if there was an improvement. I'm still waiting on the tins to Com back from paint.