Draft Cycle Works

Monday, April 27, 2015

Installing Vacuum Ports for Synchronizing

Here's a quick and reliable way to install vacuum ports on your bike if your carbs don't have them. My vm29s don't and I want to ensure good balance. Ensuring good balance between carbs has made a big difference in ride quality and performance on many of my other bikes and it's bothered me that I've never had a way to check these.

I bought 5 mm threaded vacuum ports to install in the rubber boot. Other places to add vacuum ports are on the carb body, behind the slide of course, or on the cylinder head by tapping into the intake port. There is no room on the vm29 carb and the head of a cb750 requires removal of cooling fins on the out cylinders to make a good spot. I don't want to do anymore work on the cylinder head so to the boots it goes.

This is easy enough. Just drill a hole in the boot the same size, or close, to the minor diameter of the threads on the vacuum port. Clean off the debris nd test fit the port. Add some gasket maker to the threads and screw them into the boot. Let them dry and cap them with the supplied acuum plug.  Done and done.

Now you can go back to the precious article and vacuum sync your carbs. Woohoo!!!!!

Vacuum port with gasket and sealant.

Installed.  Maybe a little tacky looking, but with the rubber caps and the carbs back on I dont think they'll be very noticeable.

Carburetor Bench Synchronizing: Mikuni VM29 Smoothbore

This goes for most mechanical carbs. The hardware is just different.  First take the top caps off, pry back the locking tab on the lock screw, loosen the lock screw and slide adjustment set screw.

Carbs off the bike.

The lock screw is toward the back and the set screw is the one toward the air filter (both are brass).  Ensure that your cap gaskets are in good shape.

Slide adjustment set screw and lock nut fully loosened.  Lock tabs are bent back and the lock screw is also loosened.


Next, unscrew the idle knob down to a low setting. A couple millimeters from the threaded steel mount is good.  Screw the slide height adjustment down on each carb until the slide is all the way down. I do this by watching the idle adjustment cam and the tops of the other slides to see when they begin to rise. Once they begin to rise, you know the slide you're adjusting is seated. Just turn the set screw back a bit to just before the others rise. Do this for the remaining three carbs.

This is the idle screw (knob) on VM29's unscrewed to a low setting.  Note the small gap between the throttle cam and the threaded steel mount.  You can close this gap completely for setting the bottom travel of the idle adjustment, I just prefer this way. 

Now your slides are pretty close to even but you want to ensure that you have the same slack in each linkage system. To do this, crank the idle knob in to lift the slides up. Snag a drill bit of any size. 1/8" is good. Tighten  the slide adjustment nut on the set screw and the lock screw on one carb, say the #4 carb. This will be your reference carb.

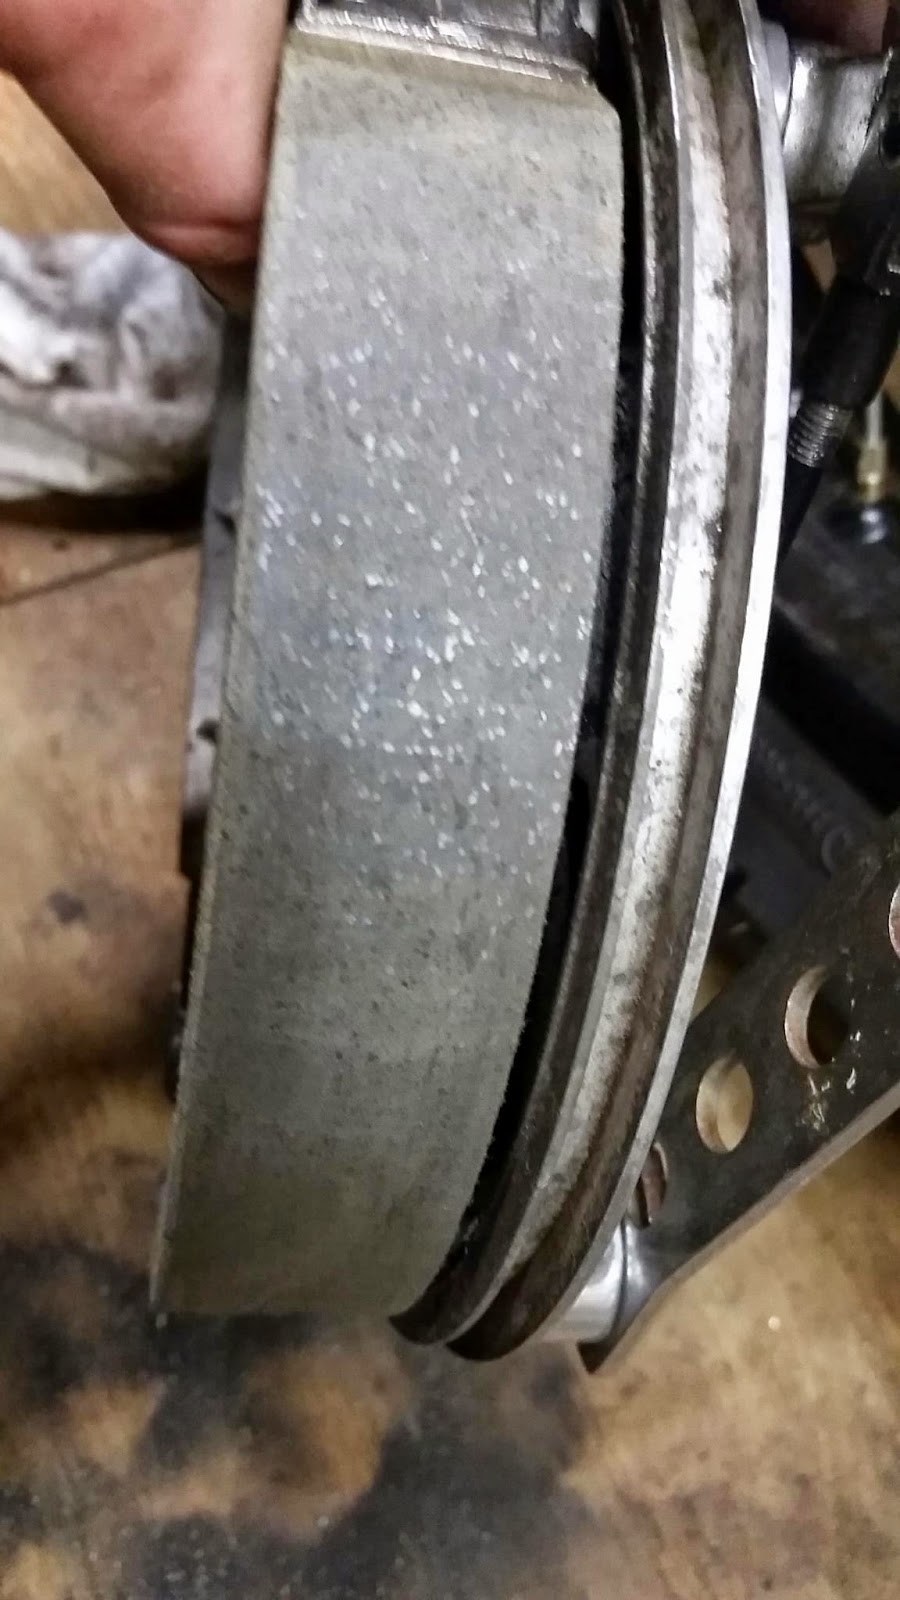
Drill bit under the carb slide.  

Place the back of the drill bit under the reference carb slide and turn the idle knob until the slide makes contact with it. You want to make sure that the slide isn't resting on it and become familiar with how it feels to slide the bit in and out. You will now set the height of the other slides to match the feel of the reference carb.

Move to one of the other three carbs, say carb #3. Place the drill bit underneath of the slide and lower the slide by adjusting the set screw down. Match the feel from the reference carb and then lock the set screw and lock screw. tightening the lock screw can make a slight change in the slide height so double check the feel on that carb after locking it all down. Repeat this for the final two carbs and you've successfully bench synchronized your rack-o-carbs.  If you dont want to, or cant vacuum synchronize the carbs, bend the locking tabs back over the lock screw and replace the top caps. You're done.

Locked and ready to roll.... to vacuum sync, if you're man enough.

The best method for synchronizing carbs is with vacuum gauges with the engine running. A meticulous bench sync can get you close, but a vacuum sync can get you dead on and compensate for any cylinder variation.

To vacuum sync, place the carbs back on your engine and warm the engine to its operating temperature. Next remove the top caps and pry back the lock tab.

Install your vacuum gauges or gauge and restart the engine. Set the idle a bit higher than normal and check the vacuum on each cylinder.

If they are different, you'll need to adjust them. I like to choose a reference carb that is in the middle of the readings. Set all of the other carbs to the same vacuum reading as the reference carb by adjusting the set screws. Once complete, lock it all down, replace the top caps, and drop the idle back down to normal. You're done... Again.

Check your vacuum every couple of months and adjust as needed. A well balanced set of carbs will provide optimum performance. Do yourself a favor and make it part of your regular maintenance program.


Complete: Rebuild and reinforcement of the Chianti box

Here's the last few steps for the chianti box.

Made some brass cap nut bolts, repaired some of the wood, glued the corner braces on, drilled and tapped the aluminum insert for the wood mounts, and finally taped and sprayed the interior with bedliner (best not to spray in the dark lest yee like runs in yer paint). It turned out incredibly sturdy and looks quite nice if I do say so myself.

Deglazing a drum brake system

So ever since I built this cl450 front, I've never gotten it to function well. I've deglaze and adjusted it several ties, but I can't seem to find the sweet spot. It's a dual leading shoe system which apparently can be finicky. Another reason I'm taking the brake apart is because I've always heard a clicking sound when rolling the wheel backwards. After inspection it turned out one of the cotter pins had been bent out and was making contact with the wheel hub casting.

For deglazing, I sanded the shoes down with 220 grit perpendicular to the length of the shoe. I also chamfered the leading edge and the side a tiny bit. Just enough to remove the shine. For the drum liner I used 120 grit and a 45* cross hatch.

To adjust the shoes, I set the linkage so both cams were in the same position. I rassembled the drum with the punch marks lined up on the shaft/lever. I then tightened the cable until I heard contact. I expect that this is pretty close to the proper adjustment but I continued to make some minor adjustments.

My thought is that the liner is not perfectly round so I should be able to adjust the cable until I can hear one shoe make contact, then rotate the wheel 180* and make the same sound with the other shoe. This would mean that the shoes are adjusted the same distance away from the drum liner. I hope.

I adjusted the linkage until the sound was similar 180* apart. After dropping the bike back down, it seemed to hold better, but I'll need to ride it to really see if there was an improvement. I'm still waiting on the tins to Com back from paint.

CCW Tha Heist. Simple little bike, lots of fun so far.

We cleaned the carbs, made a few adjustments, and both bikes fired up. These things are so cute.

Saturday, April 25, 2015

515 moto swap meet!

Fun times! And coming back with two more bikes. Little 250's. CCW "The Heist". How often do you find a production chopper thst gets 80mpg.

They're going to be little tinker toys for my Dad.

Friday, April 24, 2015

John bought a Rokon!!!

Eeeeeeeeeee!!!!!!!

Reinforcing the Chianti Box for the Last Time

This box has been on the back of my bike for 3 years, taken a fair share of abuse, and held up for the most part. I'm finally getting around to making an aluminum insert so the wood is not structural. I love the functionality of the box and for some reason I like the way it looks.

The aluminum interior is 1/8 5052, hastily mig welded together. I colored some stainless blocks using a hotplate and will use them to clamp the wood to the interior box. Eventually I may add a lid and some small tie downs, but fr now I want to see if I can get by without adding any clutter.

The bike tins are out getting a fresh coat of paint so it's now just sitting naked and cold with time to tie up loose ends.