
 |
| 1972 CB750 survivor chop headed to the shop for some work |
After buzzing around on the CB550 for a while, I decided to make a deal with John at DCW and traded it for a survivor chop that he picked up a while ago. I'm glad the 550 will still be around. The kids loved working on it and we have plenty of good memories with it in the family. But, onto new things. Adios, good buddy.
 |
| Uncle Mike's restored 1978 CB550 headed over to John's |
 |
| Imaginary road trip to Arizona to visit their cousin |
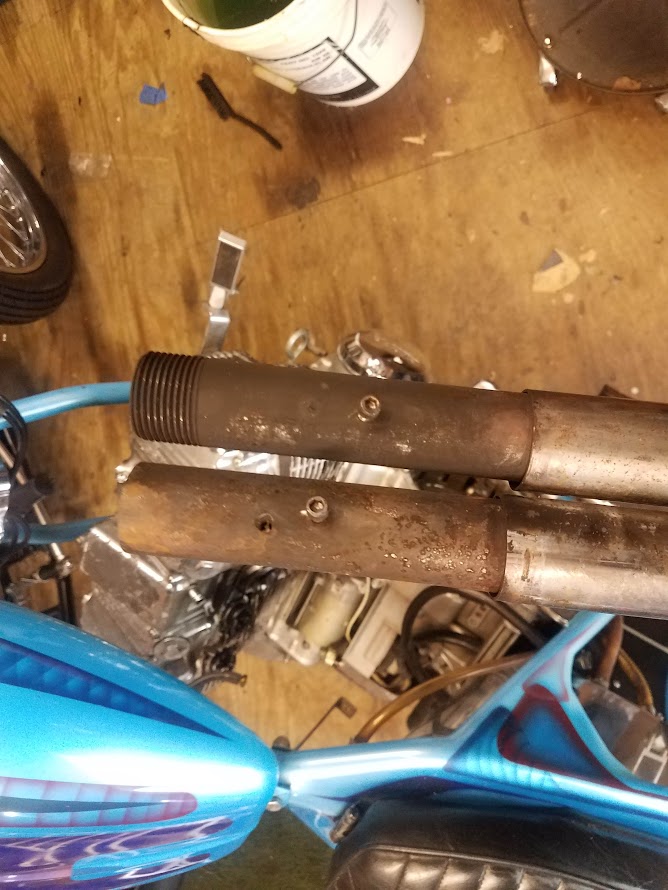
The bike under the microscope is a 1972 CB750 in a trailing plunger frame, equipped with a springer, mini disc, spoke wheels, 6 bend bars, factory wiring, factory controls, factory turn signals, and a bunch of other factory bits. It was a quality build from the 70's that must have used a kit that swaps over a lot of the factory items. The factory light cluster is even mounted between the custom risers that John made to fit the narrow 6 bends to the springer riser spacing. My plan is to retain all of the factory items, clean the bike up, and do a few upgrades for safety and reliability.
 |
| Factory indicator dash and wiring repair in progress |
The frame is conservatively molded, with a great layered paint job. It needed a good bath, some fresh paint on the engine, a little wiring, and a few mechanical fixes. Otherwise, it's in great shape for being nearly 50 years old. The first thing I took care of was the bath. It was covered in a nice layer of road grime and dust. What looked like bad chrome was really just aged chrome with a lot of dirt.
After it was relatively clean, I fixed the wiring in the cluster that the owner John bought it from had modified. This gentleman decided to extend the wires for the for the factory controls so he could fit some apes. The apes didn't look right and were the first thing to go when John got the bike. I finished properly crimping and extending the wiring, then added a fiber loom to keep it organized and tidy. I had to rebuild a set of control housings and buttons from a couple sets because the original ones were worn out. I cut out a hole for the wiring to exit the throttle housing on the front, close to the brake perch, because the bars were not dimpled like factory bars. The picture of the factory light cluster above shows the new looms, cables, and factory controls midway through the process of wiring.
While working on gathering a few parts, I've begun stripping items off the engine to fix the peeling top end paint. At some point, someone painted the top end black, but seemed to have skipped surface prep altogether. The carbs were pulled and will be cleaned/inspected and new fuel lines will be routed. The exhaust and brackets will be cleaned and the hardware will be upgraded for a tighter fit. The long pipes have a joint just behind the mid controls that is slugged with a piece of black pipe. It fits nicely, but the small #10 hardware allows for a little more movement in the kickup section of the pipes than I like. No one likes to see floppy pipes on someone's bike when you're trailing behind them... just waiting for them to pop off and find their way under your tire.
 |
| Black pipe inserts for 4-4 exhaust kickups |
On the first trip around the neighborhood to give the kids a little ride, I noticed that the clutch was dragging quite a bit. With the engine off, in first gear, clutch in, rolling the bike would spin the engine. It certainly needed an oil change, but since I'm replacing the crusty chromed covers with polished aluminum ones, I decided to inspect the clutch. Upon disassembly, I found 2 of the 4 pressure plate bolts were snapped off and only being held in by some mysterious material, possibly galvanic corrosion. The clutch fibers, steels, springs, and basket were in great shape. Perhaps a little flex in the pressure plate along with a very sticky motor oil was causing the drag. At this point I'll be installing a new clutch plate because 2 of the posts are filled with steel studs and the other two are likely damaged because the bolts were significantly over-torqued. While the clutch center is out, I'll add "V" grooves to the oiling holes to increase film capture and aide with oiling the clutch (a la Hondaman).
 |
| Grungy engine and dis-assembled clutch |
 |
| Clutch plate with damaged posts |
This is a long intro for the new addition. Eventually we might come up with some ridiculous name for the bike instead of "the blue bike," so it can join the ranks of Rock Flute, Bat Vagina, and War Bagel. Usually only the bikes that hang around for a while get a name. I expect to hang onto this one for a long time.
To Do:
- Clutch: Finish repairing the clutch, scuff the steels, V groove the clutch center, properly torque pressure plate bolts to 6-7.5 ft. lbs and the clutch nut to 33-36 ft lbs.
- Dress Engine: Prep and repaint the top end to factory aluminum, install new polished covers.
- Brakes: Source front brake lines and fit new radial master cylinder (slim fit with the 6 bends), replace caliper stay.
- Exhaust: Upgrade hardware on exhaust pipes and add spacers to rear bracket to raise exhaust 1/2".
- Chain Guard: Replace or clean and properly secure.
- Speedo/Tach Install: Add mini speedo and tach with custom drive cables (factory speedo drive).
- General Maintenance: Clean/inspect/sync/document carbs, set valve clearance, timing, cam chain tension, oil change.
- General bike inspection: Put a wrench on everything, check brakes, check lighting, check tires/wheels, check fuses, check all soft and hard components, etc.
- General upgrades and repairs: Weld wider plate to kickstand and a bunch of unknowns.
- Clean and Polish: shine paint and metals, treat soft components, restore rubber/plastic coloring. Buffing wheel, polishing compounds, silicone treatments, rubber softener, etc.
- Bunch of other little things: All those things I cant think of right now.
No comments:
Post a Comment